Showing posts with label Recipes. Show all posts

Wednesday, March 14, 2012

DIY Recipe Box

IMG_20120314_135053

Yey, today ít´s finally Pinterest Challenge Time over at Young House Love, Bower Power and 2 other blogs. I am so excited to see all of the great projects completed all over blog-world.

First up, here is what I have been pinning recently:

Pinterest

Yep. Recipe Boxes. Many years ago, I sat down and created a recipe binder for all of my recipes.

IMG_20120314_125113

But over the years, it ended up more like this:

IMG_20120314_125035

Every time I found a recipe online, I would print it out and stick it in the front. So something had to be done here.

With improvement in mind I went on pinterest to see how others stored their recipes. Seing all of those pretty recipe boxes, I decided that this was what I needed in order to organize my recipe situation.

I already had index cards, and only needed some type of container or box to hold my recipe collection (with enough space for it to grow). At the $-Store (or since I am in Germany the EUR-Store) I found the right item.

IMG_20120314_125301

A cheap light green basket (picture is not true to color), that was the perfect size for my index cards.
At home I grabbed my scrapbook paper and started tracing out divider cards on some dark green cardstock.

IMG_20120314_125651

I used a small nail polish bottle to trace on tabs as well.

IMG_20120314_125822

I cut out my dividers and made sure they fit.

IMG_20120314_131728

Next, I used the white portion of the my scraps, to create lables to go on the divider tabs….

IMG_20120314_132800

… and attached them with the white side up on the dividers.

IMG_20120314_133349

Then I decided I also wanted to label the recipe box itself, so I took yet some more scraps and worked on that.

IMG_20120314_134313

I used Jute to attach this label to the front of my recipe box.

IMG_20120314_135103

And finally I started copying my loose recipes onto those index cards. That will probably take me a couple of nights. However, even if I should get lazy at some point and I can still cut whatever I wrote or printed a recipe on to size and just stick it in the box.

IMG_20120314_135424

So, what do you think? Isn´t this better than my previous overstuffed recipe binder?

IMG_20120314_135053

At least, now I have quite some space for new recipes ….

Linked up here:

- Tuesday´s Treasures

Wednesday, February 1, 2012

Yummy Cinnamon Rolls - Superleckere Zimtschnecken

Last month, I tried a new cinnamon roll recipe from allrecipes.com and I just had to share this with you. Since making them the first time, my family has begged me pretty much every week to make another batch.

They take about 1 hour and a half to make. The dough is a dream to work with and the result ist just delicious.


I added a little bowl of vanilla pudding as I am not a fan of icing. Anyways, here is the recipe in case anybody is interested in trying these out:

Cinnamon Rolls
(Deutsche Anleitung weiter unten)

Ingredients/Zutaten:

  • 3/4 cup milk (180 ml Milch)
  • 1/4 cup margarine, softened (50 g Margarine)
  • 3 1/4 cups all-purpose flour (400 g Mehl)
  • 1 (.25 ounce) package instant yeast (1 Päkchen Trockenhefe)
  • 1/4 cup white sugar (50 g Zucker)
  • 1/4 cup water (60 ml Wasser)
  • 1 egg (1 Ei)
  • 1 cup brown sugar, packed (220 g brauner Zucker)
  • 1 tablespoon ground cinnamon (2 EL Zimt)
  • 1/2 cup margarine, softened (100 g Margarine)
  • 1/2 cup raisins (optional) (80 g Rosinen - nach belieben)

Directions:

  1. Heat the milk in a small saucepan until it bubbles, then remove from heat. Mix in margarine; stir until melted. Let cool until lukewarm.
  2. In a large mixing bowl, combine 2 1/4 cup flour, yeast, and sugar; mix well. Add water, egg and the milk mixture; beat well. Add the remaining flour, 1/2 cup at a time, stirring well after each addition (the dough will get pizza doough consistency). If needed add a little more flour. When the dough has just pulled together, turn it out onto a lightly floured surface and knead until smooth, about 5 minutes.
  3. Cover the dough with a damp cloth and let rest for 10 minutes. Meanwhile, in a small bowl, mix together brown sugar, cinnamon, softened margarine.
  4. Roll out dough into a 12x9 inch rectangle. Spread dough with margarine/sugar mixture. Sprinkle with raisins if desired. Roll up dough and pinch seam to seal. Cut into 12 equal size rolls and place cut side up in 12 lightly greased muffin cups. Cover and let rise until doubled, about 30 minutes. Preheat oven to 375 degrees F (190 degrees C).
  5. Bake in the preheated oven for 20 minutes, or until browned. Remove from muffin cups to cool. Serve warm (Be careful to put another baking tray below the rectangle as some of the melted sugar will drip down into the oven).
Don´t eat too many as these are dangerously good :)
 
Anleitung:
  1. Milch erhitzen, vom Herd nehmen, Margarine einrühren bis diese geschmolzen ist; Topf zur Seite stellen.
  2. In großer Rührschüssel 200g Mehl mit Hefe und Zucker mischen. Wasser, Ei und Margarinemischung dazu geben. Rühren.
  3. Nach und nach das restliche Mehl unterrühren. Teig dann auf bemehlter Fläche mit der Hand weitere 5 Minuten gut durchkneten (Teig sollte Pizzateigkonsistenz haben). Gegebenenfalls etwas Mehl dazu.
  4. Den Teig mit feuchtem Tuch bedecken und 10 Minuten ruhen lassen.
  5. In der Zwischenzeit Margarine mit braunem Zucker und Zimt mischen.
  6. Den Teig auf der bemehlten Fläche in ein Rechteck ausrollen und mit der Zimtmischung besteichen. Dann aufrollen und in ca. 12 Stücke schneiden.
  7. Stückchen auf der Seite in eine gefettete und gemehlte Backform oder Muffinförmchen legen. Weitere 30 Minuten ruhen lassen.
  8. Zimtschnecken auf mittlerer Stufe bei 190 C ca. 20 - 25 Minuten backen und dann warm servieren. (Vorsicht: Die Zimtschnecken tropfen ein bisschen, also Backblech unter die Backform schieben damit der Ofen nicht dreckig wird!)
Aufpassen! Zimtschnecken machen süchtig!


Sunday, August 7, 2011

Meal Plan Sunday - 8/7/2011

This is where I would post my meal plan for the week, but I have to admit that I am rather planless. In a few days, we will be moving, so I will be making nothing but creations with items we already have on hand. Hopefully, there won't be any real grocery shopping this week.

What am I planning on create with the leftovers?

Here is an example:

Hazelnut-Sugar-Cookies


I covered a cookie tray with aluminum foil.

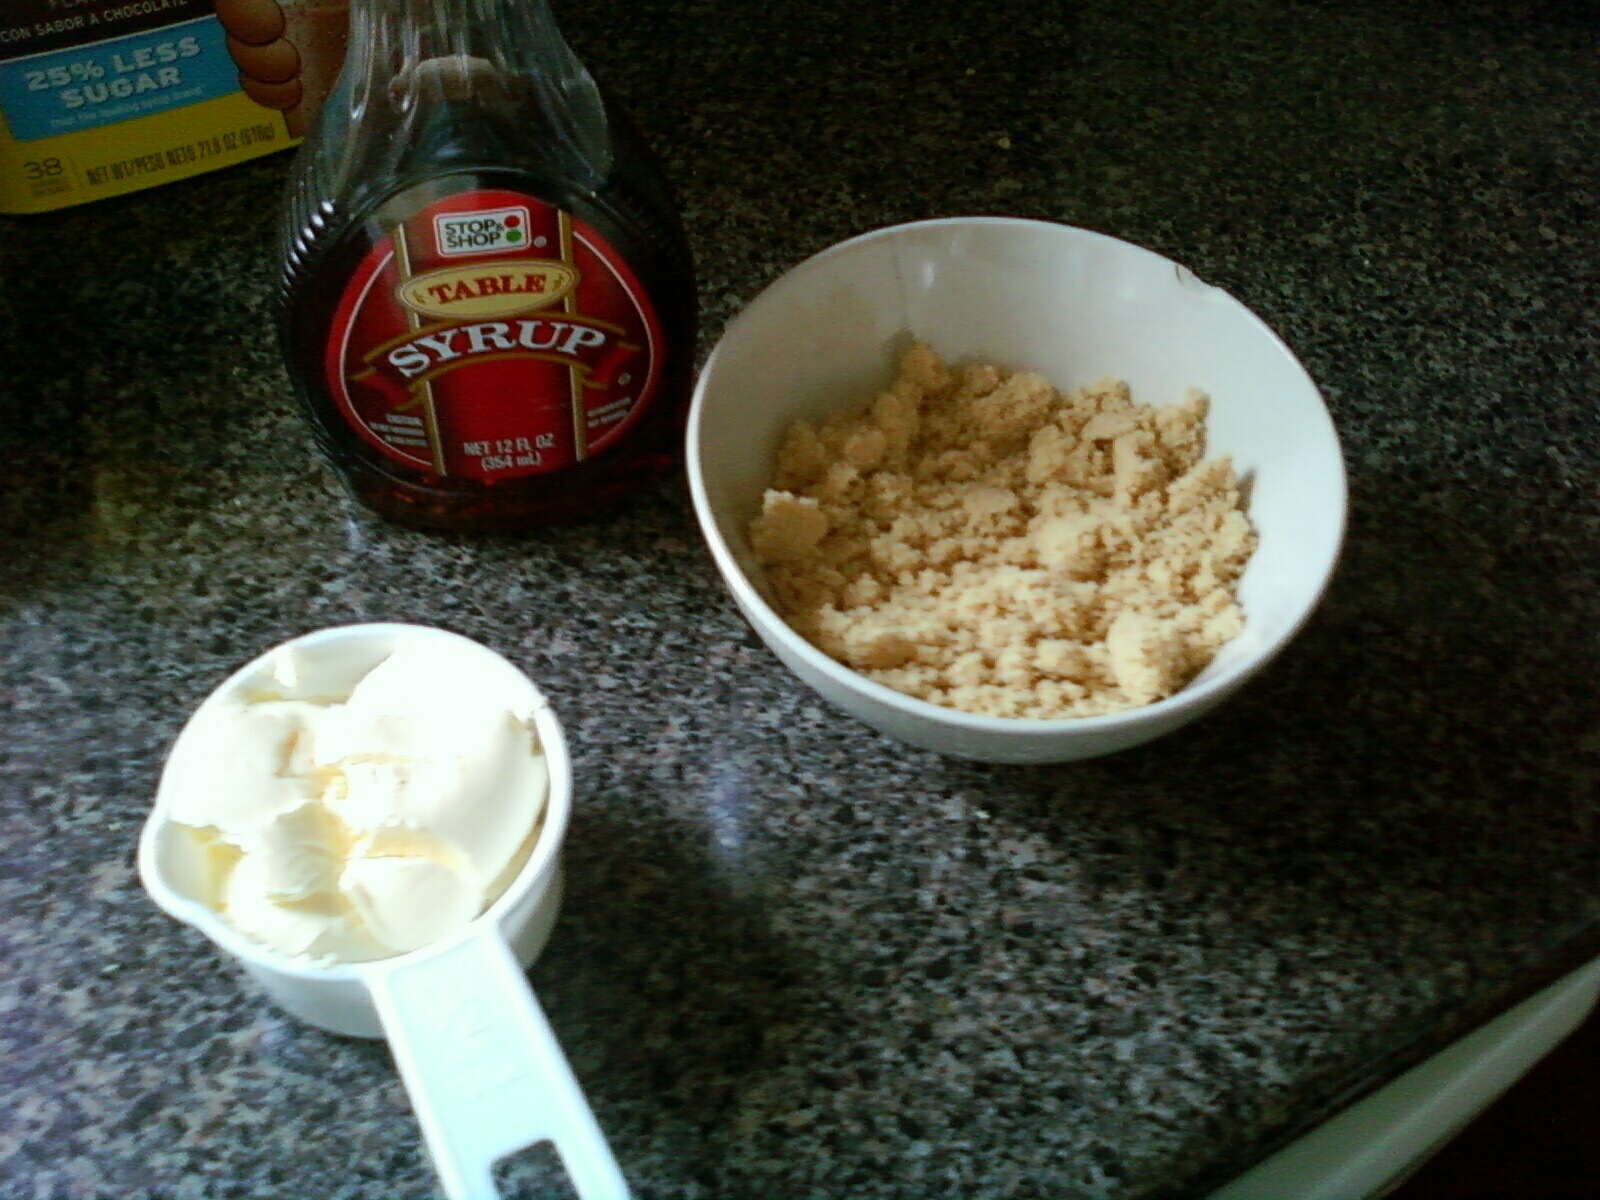
I collected miscellaneous ingredients I had flying around in my cupboards. They included honey, syrup, chocolate powder, hazelnuts, brown sugar, and flower.


I combined 1/2 cup of butter, 2 Tbsp of Syrup and all of the brown sugar I found (about a cup) in a sauce pan.


Once the mix was completely liquid, I added a cup of hazelnut, 1 Tbsp of Chocolate Powder and 1/2 cup of flower.


This is what my creation looked like.

I then dropped spoons of the dough on my cookie sheet and out the whole thing in the oven at 350F for 10 minutes.


After ten minutes I had some very sweet cookies. My son loved them, I had some too. I am not sure if this is a keeper recipe though, because these are some very sweet hazelnutty cookies.


"Enjoy".

Monday, July 25, 2011

Summer Fruit Cake

Do you remember the delicious art work I posted about the other day? One of the cards was a very easy recipe for a peach cake, which I tried out (slightly altered) over the weekend.


You only need a few ingredients:

- A yellow cake mix (which usually required 2 eggs or so)
- Fruit that is in season right now (peaches, berries, etc)
- Heavy cream
- Confectioners sugar

Here is what you do:

1) Prepare the yellow cake following instructions on the box (you can also make this yourself). I lined a cake pan with aluminum foil in order to be able to remove my cake in one piece.
2) Let cool and cut cake in half.
3) Whip up a good amount of whipping cream with a bit of sugar and confectioners sugar.
4) Cover first layer with sliced fruit (I used pears, since I had them on hand)


4) Spread whipped cream over the fruit:


5) Add second layer of cake and second layer of fruit (make sure to put some fruit aside for decorating):


6) Go ahead and decorate the whole thing with remainder whipped cream, remainder fruit and cinnamon:


7) Put your cake in the refrigerator for half an hour or so, and then enjoy a slice with coffee or tea:


Friday, July 15, 2011

Caramelly Goodness

Here is an easy recipe for caramel pudding I learned from one of my Brazilian friends.

All you need is the following:
  • 1 can sweetened condensed milk
  • 1 can regular milk
  • 1 can corn
  • 3 eggs
  • sugar
 1) Preheat oven to 400F. Then start by adding about 10 tablespoons of sugar to a saucepan and heat (stirring constantly) until sugar is caramelized.

2) Pour sugar in baking form (the only form I have is the one above, but better would be a wreath-shaped cake form)
3) Now add sweetened condensed milk, regular milk, corn and eggs to a mixer and mix very well.
4) Now pour mix over caramelized sugar.
5) Bake this in the oven for about 35 to 40 minutes.

6) Let cool for a bit, cut out the "corners" and turn flan over onto a plate. Now hope that the whole thing doesn't fall apart.
7) You can pour more caramelized sugar over the flan to make it look nicer, and then enjoy this sweet treat garnished with strawberries and blueberries :)

Saturday, July 9, 2011

Messing up the Mashed Potatoes

About 2 years ago, I started adding a little twist whenever making mashed potatoes. Why? Because I love to add veggies to my dishes whenever possible.

Here is what I came up with for this simple and quick meal.

1) Cook a good amount of potatoes in salt water

2) Rinse and then start making the puree by adding a little bit of salted butter, some milk or even heavy cream. Keep mixing and adding a bit of liquid at a time until the potatoes are fluffy and a tad creamy

3) Open one can of carrots and peas, rinse and add to the potatoes

4) Stir until the veggies are well "distributed" among the potatoes
5) You can serve this with some kind of meat, another side dish of veggies or as in my case with rice and bean leftovers (can you spot the green peppers I hid in the beans?)
Veggie Mashed Potatoes


Tuesday, June 14, 2011

Homemade Rice Pudding

As I promised earlier this week, I would like to share a very easy recipe for rice pudding. For us, warm rice pudding  just can't miss on the menu every once in a while. I especially love how one can have this for dessert, breakfast, or just because.

Now to the ingredients: You'll need the following:

- 2 cups of white rice
- 4 cups of water
- 2 cups of milk
- 1 can of condensed milk


Here is what you have to do:

- Add water and rice to a big pot and bring to boil
- Wait, stirring occasionally, until the rice is almost done ('al dente')
- Add milk and condensed milk
- Continue boiling until the rice is fully cooked; make sure to stir often, as the milk will rise easily
- If the rice pudding needs a little more sweet, add a tbsp or so of sugar
- If the rice pudding seems a little "dry", add some more milk

- Let cool and serve with fruit, cinnamon or coconut flakes


This recipe will be enough to serve 5 - 6 people. You can also refrigerate leftovers and eat the next day.

Enjoy!