Thursday, August 4, 2011

End-of-Summer Decor

I did some re-arranging of decoration on my dining room shelves, mostly involving removing picture frames and I like the results:

Here is the before: Lots of pictures and accent pieces in blue and naturals.


During my little change, I actually removed all of the pictures and added other pieces to update and neutralize the look a little bit. Here are the afters:


The entire color scheme still includes blues, naturals, browns and whites, but this time the shelf looks cleaner.


That blue vase with the tile accent is I think my single most favorite item of decoration in the entire apartment. I think the colors are perfect and I snagged this off at Home Goods even before it was put on the shelves.

 There is by the way a reason for me removing all of the pictures, but I am going to explain that later this week. For now, enjoy your day everybody!

Wednesday, August 3, 2011

What's hot in Blogland?

Have you realized there are several things hot in Blogland right now? To me, this became very apparent at the Pinterest challenge, but also at different other link parties and I had fun listing the different DIY projects everyone seems to be working on this month. Ready to take a look?

1) Have you seen all the map art and where-I-am-from art that seems to pop up on almost every DIY blog? I think these are great and for sure add some meaningful artwork to any home.

Found here
 
Found here
Found here
2) I also saw a whole bunch of fairy-gardens and fairy-doors this past couple of weeks. These are so cute.

Found here
Found here

3) And then how about the toilet paper art that several bloggers have worked on. These canvases are so easy and cheap to make and still create a good amount of impact:

Found here

Found here
4) Another type of DIY art I saw all over the last couple of weeks and which I created my own version of were the graphic striped canvases.

Found here
Found here
Found here
Found here (this one is my version)
5) Finally I loved all the melted-crayon-canvases and I think the possibilities for these are endless. Either following the colors of the rainbow or using just 2 or 3 specific colors seem to result in some pretty random but high-impact art:


Found here
Found here
Found here

So there you have it. This was my little round-up of what I saw repeatedly throughout blogland the last couple of weeks.

Tuesday, August 2, 2011

Inspired ....


Here is my little project:

I have a Pinterest board with DIY canvas ideas and one I really liked is this one:

found here
 This was something I could do, spending $ 0.00 since I had everything for this project on hand.

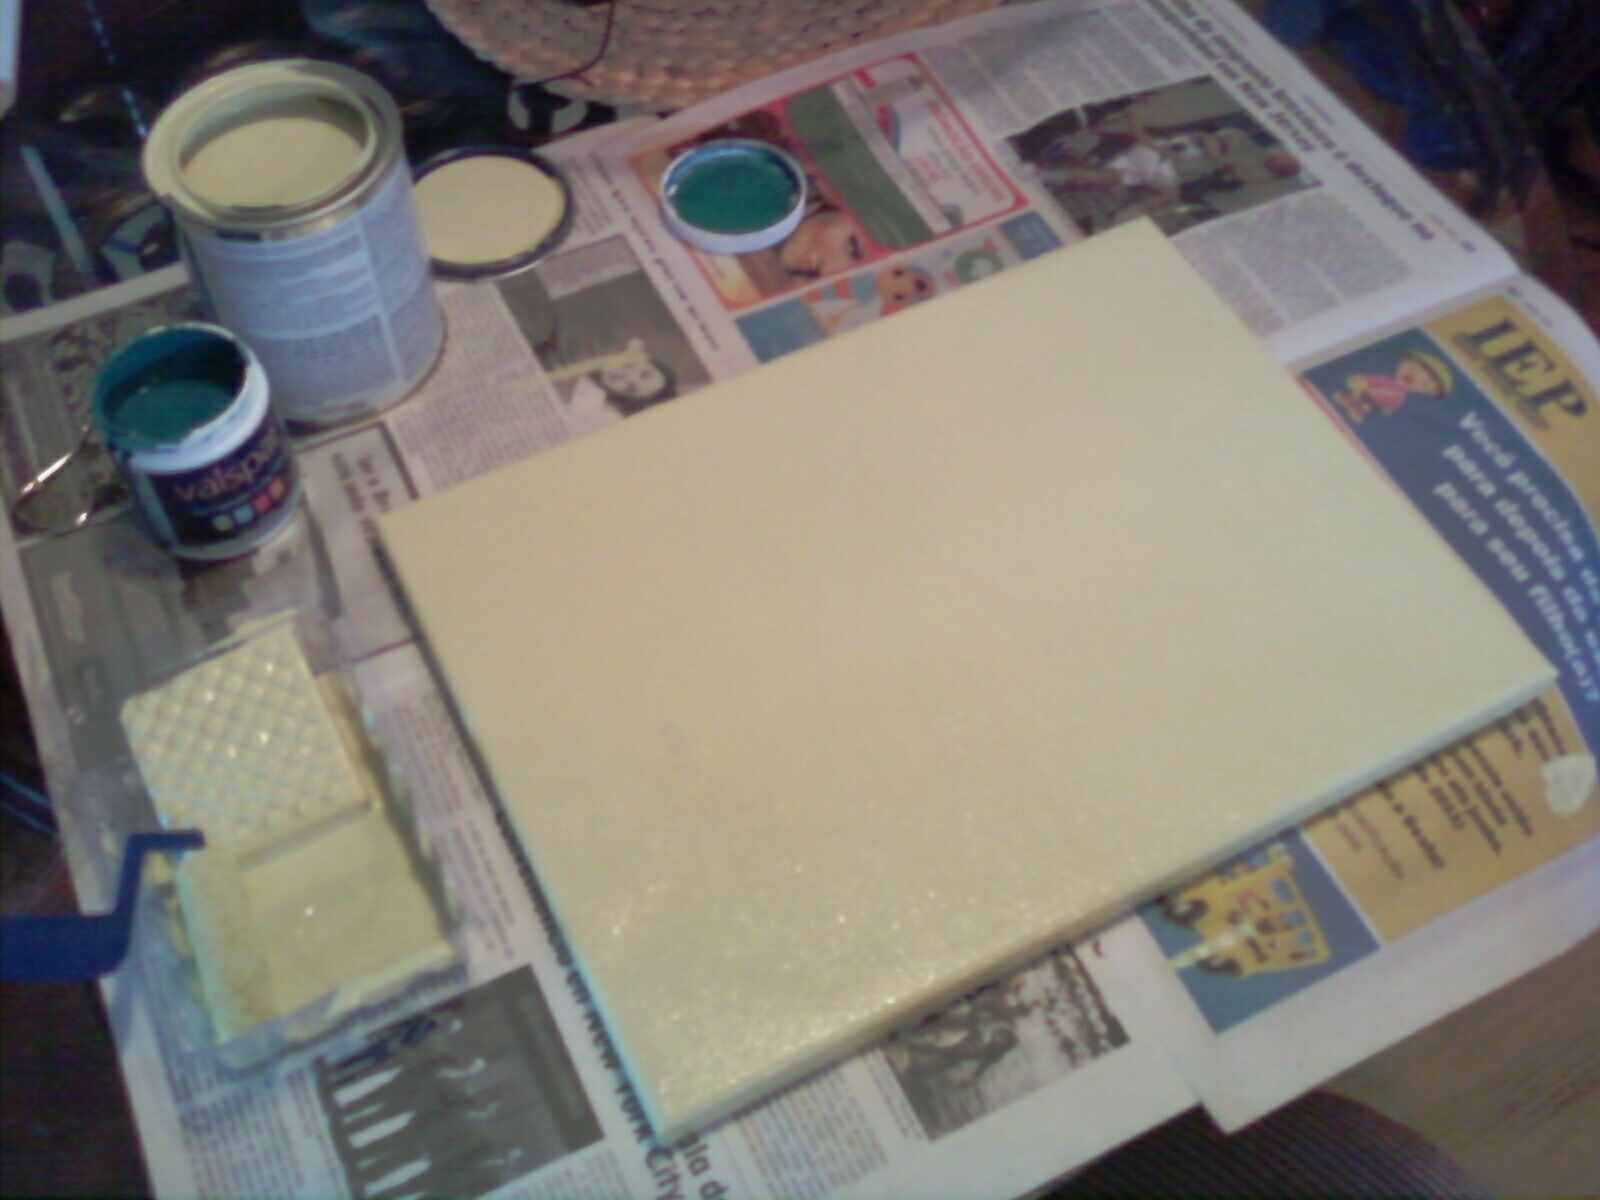
I started with an old canvas, which I had in the bathroom but where the colors just didn't co-ordinate with my existing color scheme:


I used some of my free quart of Glidden paint I was able to snag a couple of months ago and painted over the entire canvas (the color is Soothing Green Tea):


Once the three layers were all dry, I taped sections with painters tape:


 Then I went over the whole thing with Teal Blue paint (this time a free Valspar paint sample in Ocean Slumber):


Before the layer of paint dried, I carefully removed the tape and then I waited again for this to dry.

Once dry, I taped my canvas in a similar way as previously but this time horizontally.

I went over that with my teal color as well.

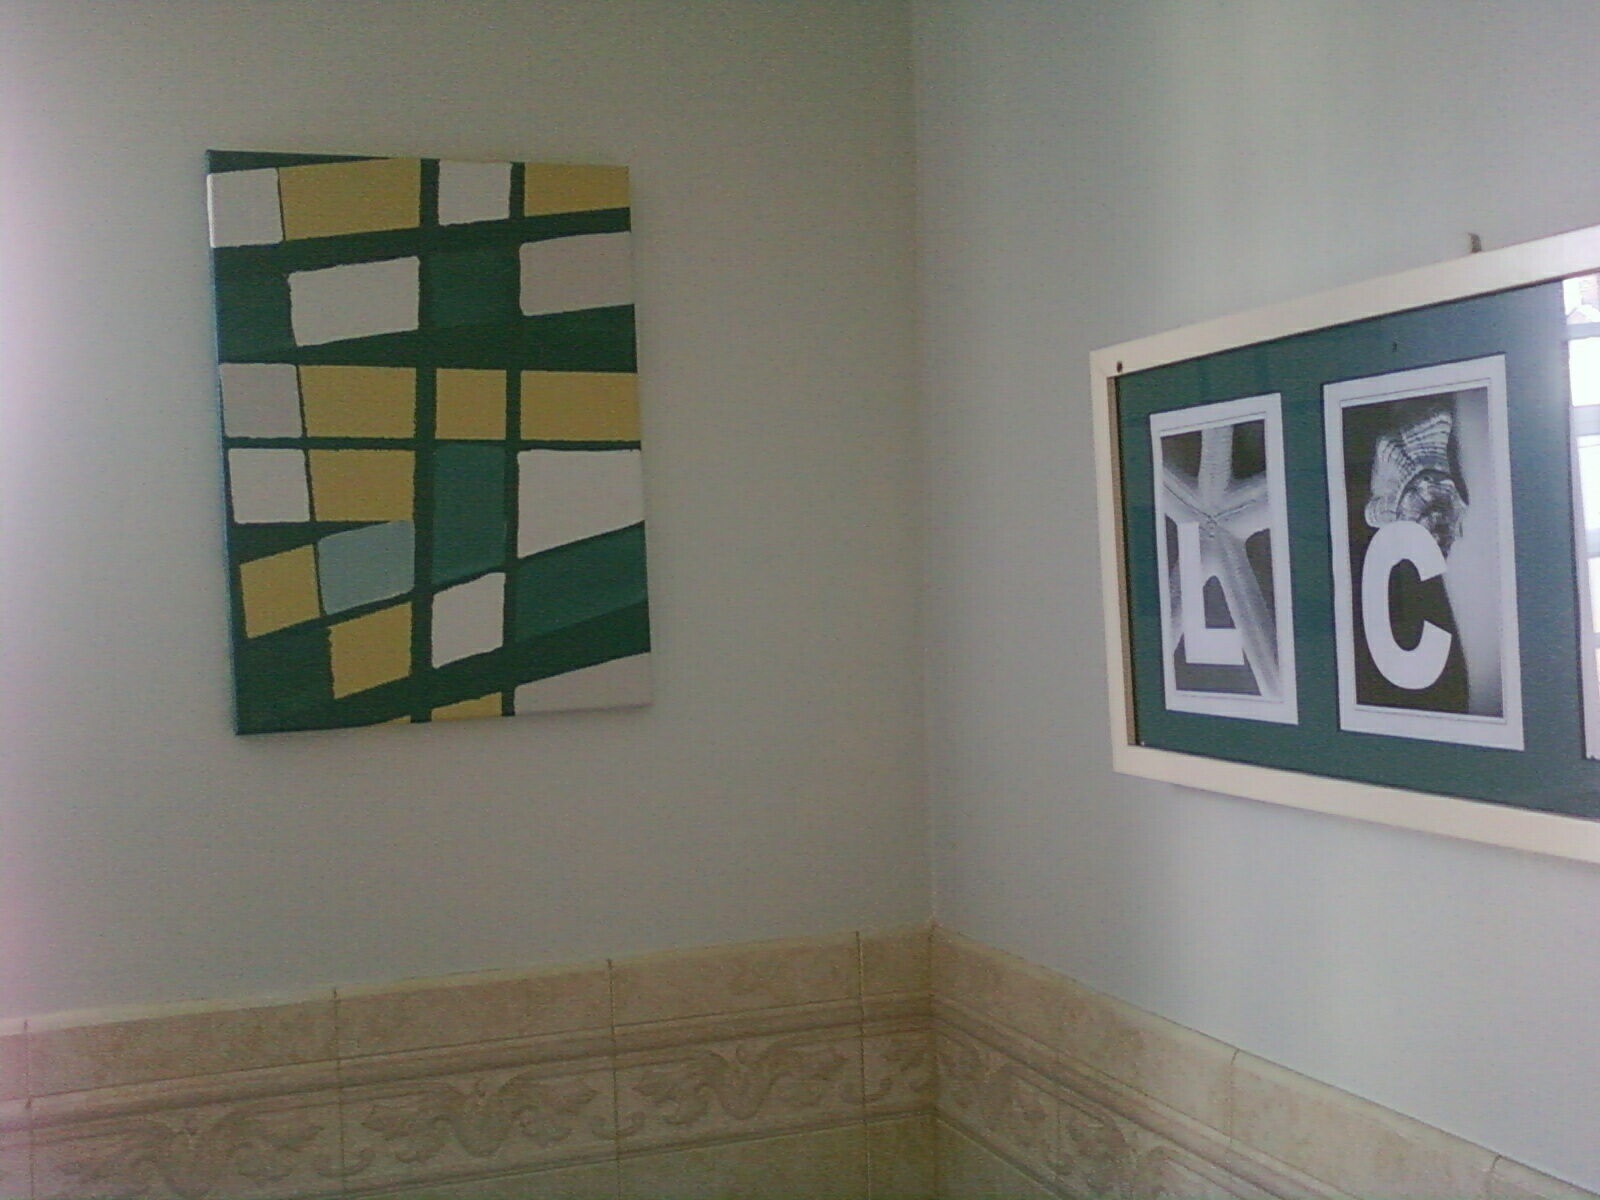
At this point, I forgot to take a picture, but I pretty much removed that second layer of tape and then used some of our hallway paint (Behr's Lime Light, a very light blue) to fill in some of the boxes with  more color. I also had to do some touching up, because I had paint bleeding through the tape.


Here is another picture:


I like how this turned out, especially since it adds another pop of color to our bathroom.


Linked up at the following parties as well:

Thrifty Decor Chick - Before and After Party
Uncommon Slice of Suburbia - Tuesdays Treasures 
House of Hepworths - Hooking Up
The Shabby Creek Cottage - Transformation Thursday
The Shabby Nest - Frugal Friday 
Designer Garden - VIP Party

Monday, August 1, 2011

Meal Plan Sunday - 7/31/2011

Here is what I will be making this week:

Breakfasts:
Cereal, Fruit, Milk - x 2
Oatmeal, Fruit, Milk - x 2
Pancakes, Fruitsmoothie - x 2
Rice pudding, Fruit

Lunches:
Veggie Soup - x 2
Beef Wrap
Green Salad
Toast w/Joghurt and Fruit
Rice, Beans, Scrambled Eggs
BBQ w/ Salad 

Dinners:
Rice, Chicken Stroganoff (w/  Mushrooms and Broccoli on the side)
Rice (leftover), Beans, Meat
Baked Potatoes, Meat, Steamed Veggies
Leftovers or BBQ
Rice, Beans, Meat
Tilapia, Rice, Steamed Veggies

Tuesday, July 26, 2011

Green Tea Party

A few months ago, before painting 2 walls of our master bedroom a neutral beige, I had actually put up quite a few of different green color paint chips in order to see if I liked any of them.

I got scared of going "crazy" and went with the neutrals. Then a few weeks ago my free Glidden quart arrived. The color, Soothing Green Tea, I actually quite liked. So before starting any big projects with the paint I decided to "test the waters" and just paint the inner portion of our old TV stand.

And what I saw I really liked. So much so, that I made some artwork with it (more on that another day). Then today when my son fell asleep for his nap, I figured why not and painted the remainder walls of our master bedroom.

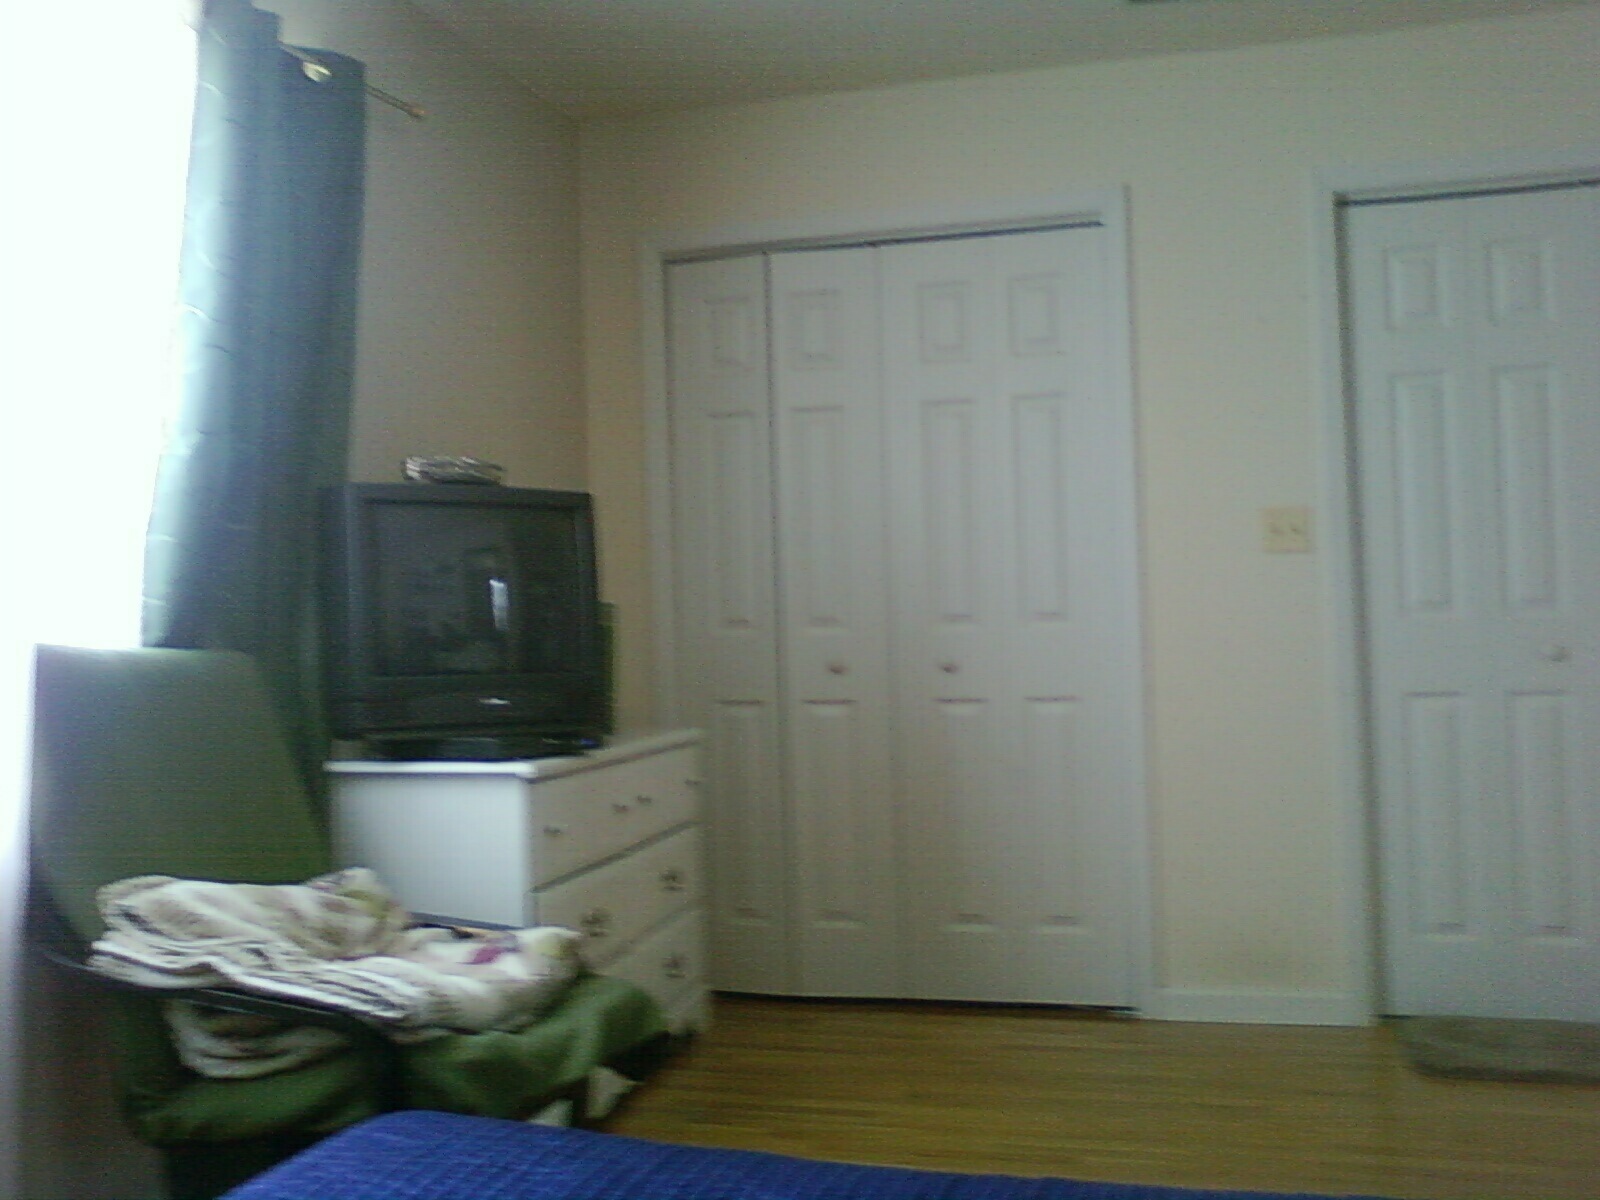
Here are the before-pictures:


And now here are the after-pictures:

Here is a close-up of the wall color:

I love how this turned out. The color is a soft green that is cheery at the same time.

Painting the closet wall and plus the small adjoining wall to the right took me about an hour. Since my son was still sleeping, I figured I might as well also finish up the two walls in our master bathroom that had remained unpainted.

The first two walls were already painted in lime light (a very light blue with a hint of green) and two walls were still the builders beige that comes with new houses. So I used the prolonged nap of my son and also painted the remaining master bathroom walls in Green Tea (the color actually works pretty good with the existing color scheme).

Here are the before-pictures of the blank walls (you can see the blue on the left wall):


Ready for these afters?


So what do you think of my Green Tea Party? My son actually woke up while I was just about to finish up, so I had to hurry.

Either way, I love how this turned out. Especially in the bathroom. I have caught myself looking at the cheery color on the walls and I am glad I tried painting a wall green.

This color for sure stays on my list of favorites.

Monday, July 25, 2011

Magenta and Navy Nursery

I woke up today and found a beautiful flower from our landlord's yard next to my bed. The hubby must have taken seen it, while taking our dog for a walk earlier.

While looking at it, I noticed how beautiful the color of the flower went with our dark blue duvet.


And guess what? Right away my brain went into mood board thinking.

I thought that magenta and navy would be great colors for a girl's nursery, so that's what I worked on.
Take a look at my mood board and let me know what you think:


1. I would paint most of the walls in a very light gray tone, such as Glidden's Polished Pewter or Amethyst Haze. Then I would create an accent wall in magenta pink (maybe Glidden's Bight Black Raspberry). You could also paint some kind of striped detail across the gray walls using our two main colors.
2. In order to go budget-friendly, I would try to find a dresser with great bones on Craigslist and then paint it in navy. The crib and a shelving unit (such as the Expedit) could be purchased in white or if second-hand painted white.
3. For the shelving unit I would use cute magenta and navy colored accessories, such as baskets. You could also use pretty paper or fabric to cover the back of the shelf.
4. A dark gray arm chair with magenta foot stool would look great and provide additional seating.
5. Then I would add white floating shelves to the wall, white curtain panels, and a wooden alphabet in white or in shades of our colors. A picture gallery with only white frames would also look great.
6. Three canvases (similar to the ones in the mood board), accent pillows (maybe DIY?), and paper lanterns high above the crib would add some more decorative touches to the room.
7. For the bedding, I would also use a combination of fun gray, magenta and navy fabrics and try to sew this myself.
8. A navy colored rug completes the board.

To me, this seems to be a color-scheme that is girlie, but not too much.Thank you landlord for such a great inspirational piece right from your backyard!

Linked up here:

Centsational Girl - Garden Link Party

Summer Fruit Cake

Do you remember the delicious art work I posted about the other day? One of the cards was a very easy recipe for a peach cake, which I tried out (slightly altered) over the weekend.


You only need a few ingredients:

- A yellow cake mix (which usually required 2 eggs or so)
- Fruit that is in season right now (peaches, berries, etc)
- Heavy cream
- Confectioners sugar

Here is what you do:

1) Prepare the yellow cake following instructions on the box (you can also make this yourself). I lined a cake pan with aluminum foil in order to be able to remove my cake in one piece.
2) Let cool and cut cake in half.
3) Whip up a good amount of whipping cream with a bit of sugar and confectioners sugar.
4) Cover first layer with sliced fruit (I used pears, since I had them on hand)


4) Spread whipped cream over the fruit:


5) Add second layer of cake and second layer of fruit (make sure to put some fruit aside for decorating):


6) Go ahead and decorate the whole thing with remainder whipped cream, remainder fruit and cinnamon:


7) Put your cake in the refrigerator for half an hour or so, and then enjoy a slice with coffee or tea: